
Of course, a Rejuvenation Exterior Detail isn't just about cleaning tar, it would be extremely disrespectful to our detailers to say they simply cleaned a car (for two full days), however, removing the tar on this job was actually where almost 50% of the work in this detail went, that's about 6 hours of tar removal, six hours. The paint correction which is usually the major component was a significantly simplified version of what it usually would be for this service package in order to make room for the tar removal, which is really what made this car pop.
There are a few tips and tricks in this article for enthusiasts and professional detailers and there's also this business lesson, if we had ignored the humongous amounts of tar on this car and carried out the usual processes, it would have looked worse overall. The 'details in details' are often overlooked, too many detailers are concentrating on the paintwork correction and skipping over the cleaning that's required for immaculate presentation.

If the car were black and the paintwork required more correction than was carried out, we would have recommended the customer have us provide the next stage up with significantly more budget for the correction, but since a few hours (about 4) of paintwork correction would be ample for this colour, in this condition, the decision was to cut the correction from the usual 8-12 and use that time to improve the overall cosmetics drastically by removing all the tar from the wheels and body (paint, glass, wiper arms, badges, lights -it was everywhere.
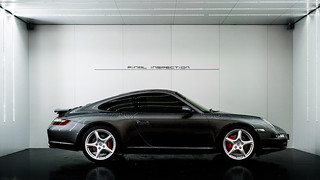
We hope that clearly explains why we've deviated from the usual process for this service and why the customer is happy we did too. Don't think the paintwork wasn't delivered with the usual slick, high gloss finish we always deliver, it was, the customer was just lucky the paint was in good condition and the colour was forgiving and allowed for a more efficient process to achieve a satisfactory finish.
The Process
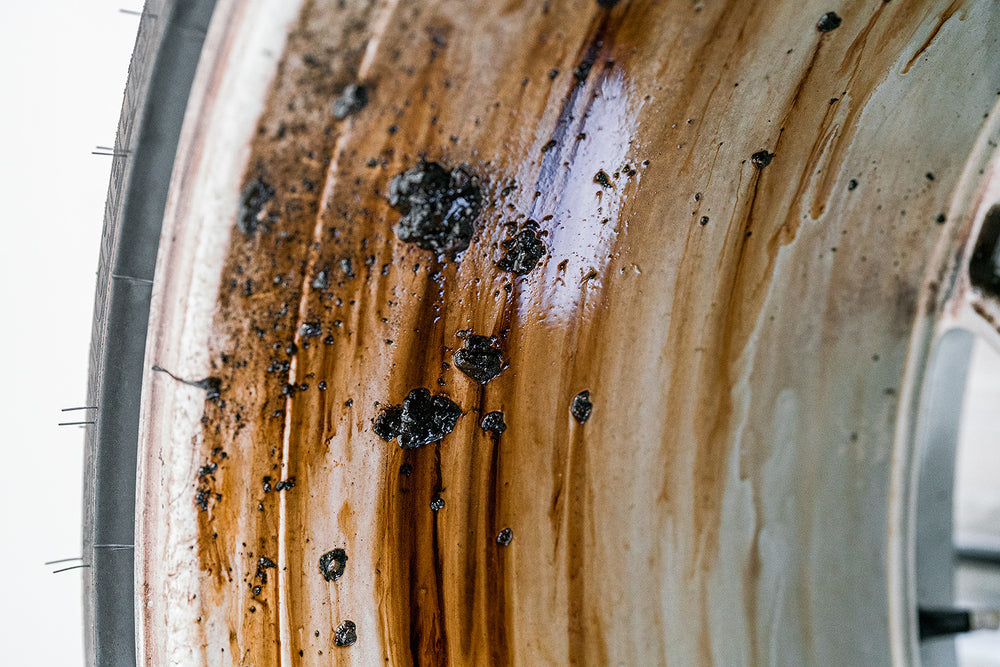
After the usual wash and dry and washing the wheels with Wheel Clean, we decided to attempt to remove the tar with Cleanse STRONG without removing the wheels, it was clear after just 30 seconds that process wasn't going to be efficient. The problem was the amount of tar required a longer dwelling time, so we adjusted the product to suit adding one part of Cleanse STRONG to one part of Body Shampoo;
The reason for this mixture is to make the Cleanse STRONG stick to the parts of the wheel that are vertical or upside down and allow Cleanse STRONG to spend more time breaking down the tar.
This worked;
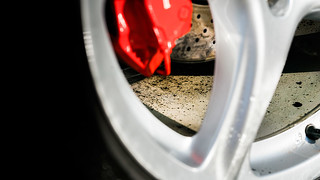
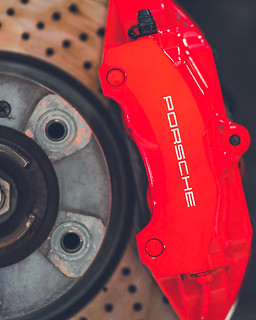
However, the most efficient way was to remove the wheels and work at a more comfortable height, also, getting to the brake calipers and hubs which were also covered in tar was going to be much easier with the wheels removed.

So, with the wheels removed we lathered on the thick Cleanse STRONG + Body Shampoo mixture.

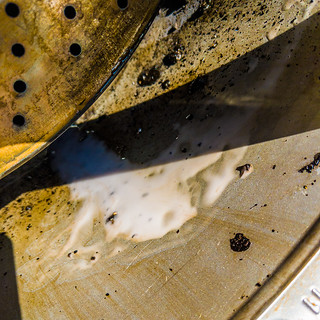
First, as usual, a thorough pass with The Eraser;

Then Cleanse STRONG;
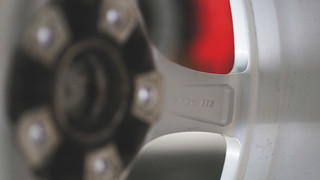
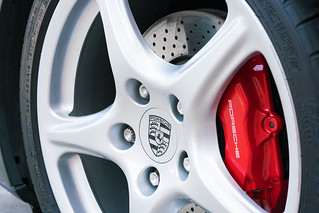
And we have a silky smooth base ready for correction;
No, those black spots unfortunately aren't tar spots, they appear to be chips :(
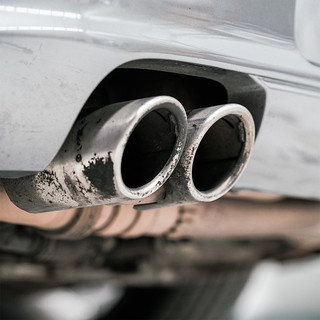
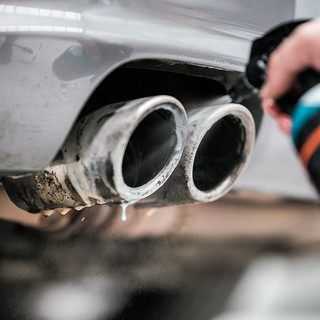
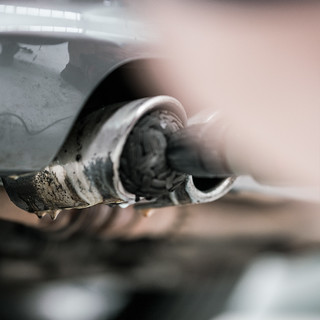
Exhausts. They were also full of tar, so out came Wheel Clean to start with, Cleanse STRONG, then CAP Heavy on a polishing ball, we'll let the sequence of images explain;

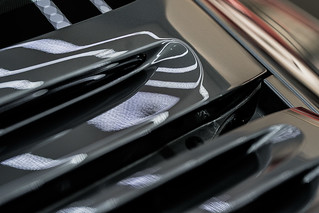
And finally, our typical single-stage, two pass correction consisting of CAP Heavy on a rotary with a white SHD pad and then CAP Heavy again on a Black LD and well well well, glossy gloss ensued...


Finally, FMJPP (Full Metal Jacket Paint Protection) + FMJAC (Armour Coat) after FMJPP had cured.
Comments
1 comment
Brett
Great article!